

How to Calibrate a Pressure Gauge Step by Step Guide
Accurate pressure measurement is critical in industrial operations. Whether you work in manufacturing, mining, process plants, utilities, or general engineering, a pressure gauge that reads incorrectly can lead to poor process control, equipment strain, product quality issues, or even safety risks.
That is why pressure gauge calibration is such an important part of routine maintenance.
In this guide, we break down how to calibrate a pressure gauge step by step, what equipment is needed, what to check before and after calibration, and when a gauge should be repaired or replaced instead of recalibrated.
At Blanes Pressure Solutions, we understand that reliable instruments are essential for safe and efficient operations. This guide is ideal for maintenance teams, technicians, and plant operators who want a clear understanding of the calibration process.
What Is Pressure Gauge Calibration?
Pressure gauge calibration is the process of comparing a gauge’s reading against a known accurate reference standard to determine whether it is reading correctly.
If the gauge reading is out of tolerance, it may be adjusted (if the gauge design allows adjustment) and tested again to confirm accuracy across its measuring range.
Why calibration matters
A pressure gauge that is not calibrated can cause:
-
Incorrect process readings
-
Overpressure or underpressure conditions
-
Unnecessary downtime
-
Equipment damage
-
Compliance and audit issues
-
Safety concerns for operators and systems
Routine calibration helps maintain confidence in your readings and improves plant reliability.
Tools and Equipment Needed for Pressure Gauge Calibration
Before starting, make sure you have the correct calibration equipment and a safe working environment.
Basic equipment checklist
-
Reference pressure gauge or digital pressure calibrator (with higher accuracy than the test gauge)
-
Pressure source (hand pump, pneumatic pump, hydraulic pump, or deadweight tester depending on range)
-
Hoses, fittings, and adapters
-
Calibration manifold (if applicable)
-
Isolation valves
-
Leak detection solution (optional but useful)
-
Calibration record sheet or digital logging system
-
PPE (gloves, eye protection, etc.)
Important note on accuracy
Your reference instrument should be significantly more accurate than the gauge being tested. A common practice is to use a reference standard that is at least 4 times more accurate than the test gauge.
Safety First Before You Start
Before calibrating any pressure gauge, always follow site safety procedures.
Safety checks
-
Isolate the gauge from the live process
-
Depressurize the line fully
-
Confirm there is no trapped pressure
-
Check media compatibility (especially with hazardous fluids or gases)
-
Use proper PPE
-
Never exceed the maximum pressure rating of the gauge or test equipment
If the gauge was used in a hazardous or corrosive service, clean and handle it carefully before testing.
Step-by-Step Pressure Gauge Calibration Procedure
Step 1: Inspect the Pressure Gauge
Start with a visual inspection before connecting the gauge to the calibration setup.
Check for:
-
Cracked lens
-
Bent pointer
-
Damaged dial markings
-
Corrosion on the case or connection
-
Leaks at the threaded connection
-
Signs of vibration damage
-
Liquid-filled gauge leakage (if glycerine-filled)
If the gauge is physically damaged, calibration may not be reliable. In many cases, replacement is the better option.
Step 2: Confirm the Gauge Range and Units
Verify the pressure range and units on the gauge (for example, 0–10 bar, 0–16 bar, 0–1000 kPa, etc.).
Your calibration source and reference standard must cover the same range safely and accurately.
Also check:
-
Pressure unit (bar, kPa, psi, MPa)
-
Accuracy class (if marked)
-
Process connection size/type
-
Whether the gauge is suitable for pneumatic or hydraulic calibration
Step 3: Connect the Gauge to the Calibration Setup
Connect the test gauge and the reference standard to the same pressure source so both instruments receive the same pressure input.
Tips for proper setup
-
Use the correct adapters and fittings
-
Ensure tight, leak-free connections
-
Avoid over-tightening
-
Mount gauges securely for easy reading
-
Keep dial faces visible and level
Even a small leak can affect readings, especially at low pressure points.
Step 4: Zero Check (No Pressure Applied)
With no pressure applied, check the gauge pointer.
What to look for
-
The pointer should sit exactly on zero
-
If it does not, note the offset
-
Some gauges allow mechanical zero adjustment
-
If the pointer is significantly off and cannot be adjusted, the gauge may need repair or replacement
A poor zero reading is often the first sign that calibration is required.
Step 5: Apply Pressure in Increments
Apply pressure gradually using the test pump and compare the test gauge reading to the reference standard at set points.
A common method is to test at:
-
0%
-
25%
-
50%
-
75%
-
100% of full scale
For example, on a 0–10 bar gauge, test at:
-
0 bar
-
2.5 bar
-
5 bar
-
7.5 bar
-
10 bar
Best practice
Increase pressure slowly and allow the readings to stabilize before recording values.
Step 6: Record the Readings
At each test point, record:
-
Reference instrument reading
-
Test gauge reading
-
Error (difference between the two)
Example calibration record
If the reference reads 5.00 bar and the test gauge reads 5.30 bar, the gauge error is +0.30 bar.
This tells you the gauge is reading high at that point.
Step 7: Check Readings on the Way Down
Calibration should not only be tested while increasing pressure. Reduce the pressure in the same increments and compare readings again.
This helps identify hysteresis (a difference in reading between increasing and decreasing pressure).
Why this matters
A gauge might read correctly on the way up but drift on the way down due to:
-
Mechanical wear
-
Internal friction
-
Vibration damage
-
Fatigue in the sensing element (such as a Bourdon tube)
Step 8: Compare Results to Tolerance
Now compare the recorded errors to the acceptable tolerance for that gauge or your site standard.
Tolerance depends on:
-
Gauge accuracy class
-
Process criticality
-
Site QA/instrumentation requirements
-
OEM specifications
If the gauge readings are within tolerance, the gauge can be returned to service (subject to your internal procedures).
If the gauge is outside tolerance, move to adjustment (if adjustable) or replacement.
Step 9: Adjust the Gauge (If Applicable)
Some pressure gauges allow calibration adjustment, but many standard gauges are not designed for repeated field adjustment.
If adjustment is possible:
-
Follow the manufacturer’s method
-
Make small adjustments only
-
Re-test the full range after adjustment
-
Confirm zero and span
Important
Never force an adjustment screw or attempt to modify a gauge without the correct procedure. Incorrect adjustment can make the gauge less accurate and unsafe to use.
Step 10: Final Verification and Documentation
After adjustment (or if no adjustment was needed), perform a final verification across the key test points and document the results.
Record the following
-
Gauge identification/tag number
-
Pressure range and units
-
Date of calibration
-
Technician name
-
Reference instrument used
-
As-found readings
-
As-left readings
-
Pass/fail status
-
Next calibration due date (if applicable)
Proper calibration records are important for maintenance planning, audits, and compliance.
Common Mistakes to Avoid During Gauge Calibration
Even experienced teams can run into calibration issues if the process is rushed.
Common mistakes
-
Using an inaccurate or uncertified reference gauge
-
Calibrating without isolating the process properly
-
Ignoring leaks in the setup
-
Taking readings too quickly before stabilization
-
Skipping descending pressure checks
-
Not documenting results
-
Using a damaged gauge instead of replacing it
How Often Should a Pressure Gauge Be Calibrated?
There is no one-size-fits-all answer. Calibration frequency depends on the application and operating conditions.
Factors that affect calibration intervals
-
Criticality of the process
-
Vibration levels
-
Pressure cycling frequency
-
Harsh environments (heat, dust, chemicals)
-
Regulatory requirements
-
Historical drift trends
General guideline
Many facilities calibrate pressure gauges:
-
Every 6 months for critical applications
-
Annually for general service
-
Immediately if impact damage, overpressure, or suspect readings occur
A risk-based calibration schedule is often the best approach.
When to Replace Instead of Recalibrate
Calibration is not always the answer. Some gauges should be replaced, especially if they show signs of mechanical failure.
Replace the gauge if:
-
The pointer is bent or sticking
-
The dial is unreadable
-
The case or connection is damaged
-
The gauge has severe vibration wear
-
The gauge repeatedly fails calibration
-
There is fluid leakage from a filled gauge
-
Internal corrosion is visible or suspected
Using a damaged gauge can create false confidence in your process readings.
Why Work with Blanes Pressure Solutions
Pressure gauges are not just indicators — they are essential process instruments. Choosing the right gauge, maintaining it correctly, and calibrating it properly helps improve uptime, process control, and safety.
Blanes Pressure Solutions supplies quality pressure measurement solutions and supports clients with practical instrumentation knowledge for industrial environments across South Africa.
Whether you need:
-
New pressure gauges
-
Application guidance
-
Gauge selection support
-
Industrial pressure instrumentation solutions
Blanes Pressure Solutions can assist with the right solution for your process.
Final Thoughts
Knowing how to calibrate a pressure gauge step by step helps maintenance teams improve accuracy and identify problems before they affect production.
A proper calibration process includes:
-
Safe isolation
-
Correct setup
-
Testing across the full range
-
Up and down readings
-
Tolerance checks
-
Final documentation
If your team is unsure whether a gauge is still reliable, it is always better to test early than wait for a process issue or shutdown.
Need reliable pressure gauges or expert guidance on pressure measurement solutions?
Contact Blanes Pressure Solutions for professional support and the right instrumentation for your application.
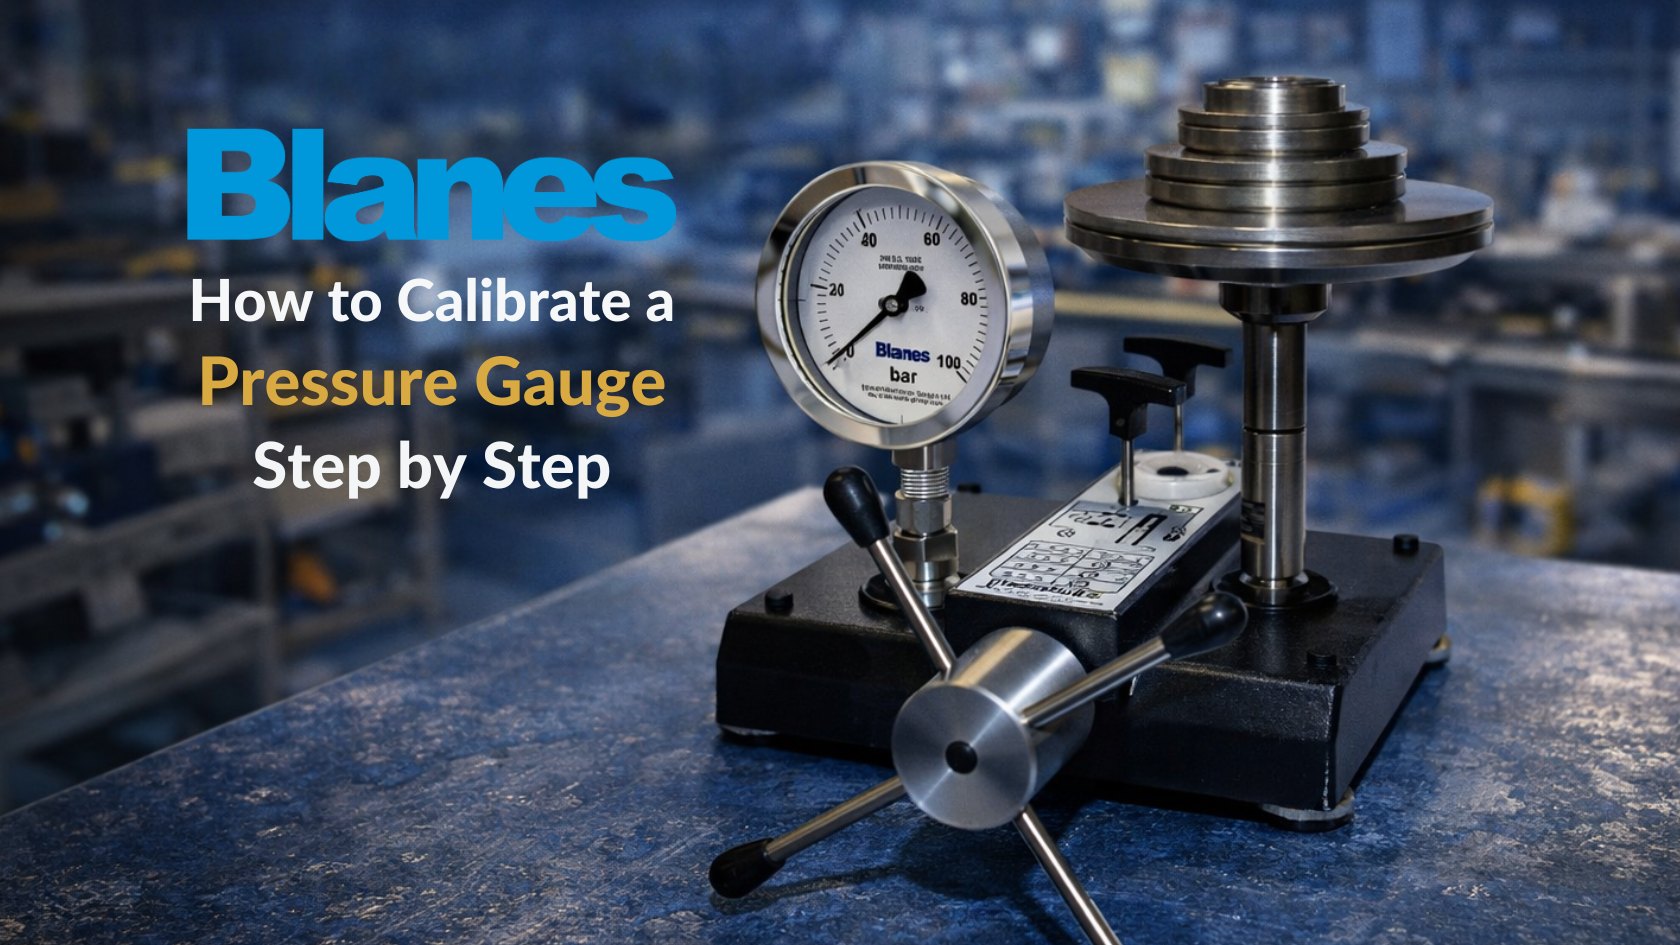
We also offer SANAS traceable calibrations complete with a certificate, valid for 1 year on our premises.
Blanes Pressure Solutions supplies a comprehensive range of pressure measurement instruments.
Blanes Pressure Solutions was founded in 2002 to take over the pressure business of Blanes Instruments CC, and can trace its pedigree back to 1893, when Robert Blane left Scotland to make his fortune on the Witwatersrand.
For more information on placing orders, after care and maintenance services you can contact our Sales Manager Ronel Olivier on ronel@pressuresolutions.co.za or 011 422 1749.


